

iPhone Case 3D Renderings
Hyper-Realistic 3D Product Rendering for Premium iPhone Cases: A Dandify Design Case Study
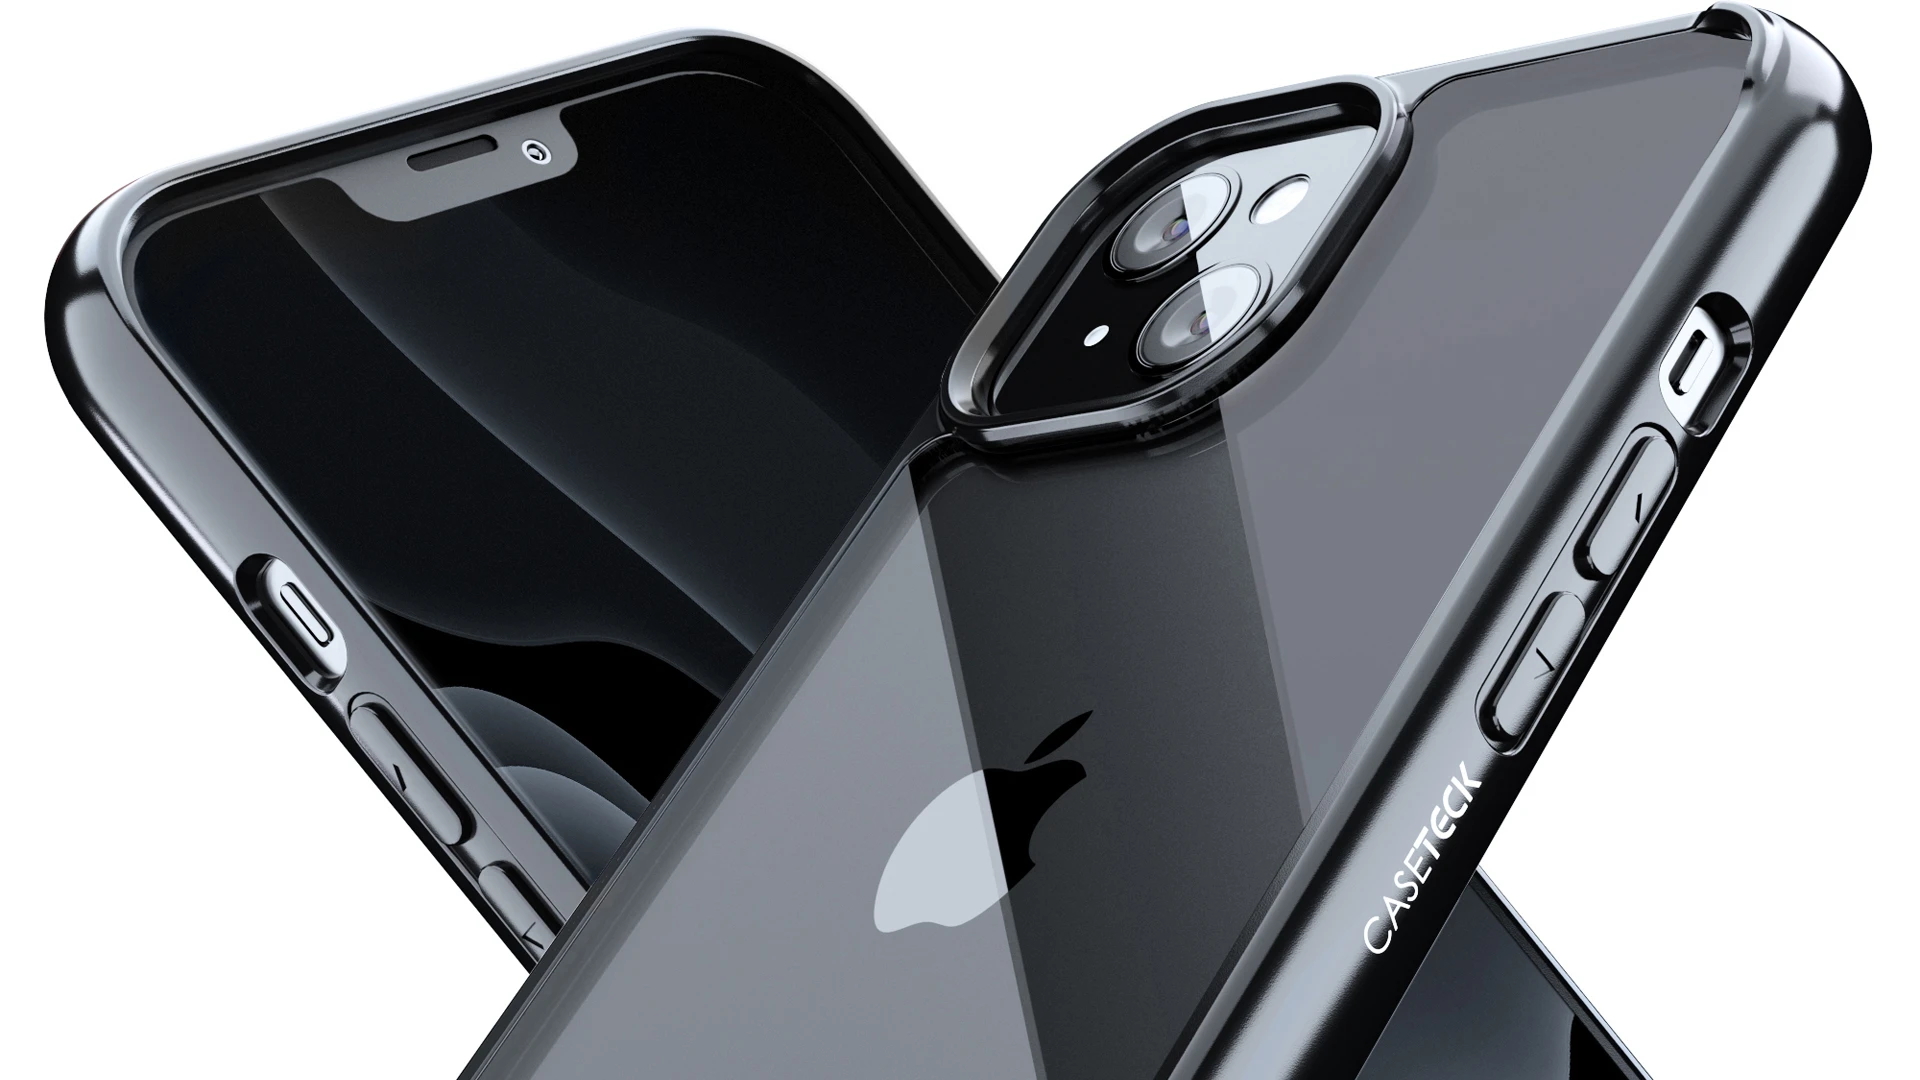
In this project, we have created 3d renderings for the phone cases. Here we used different design approaches, CAD models from manufacturer as a base for renderings, and reference photos from the client to create realistic materials. In addition, we used stock photos to create lifestyle images and infographics.
The Challenge: Visualizing Unreleased Products
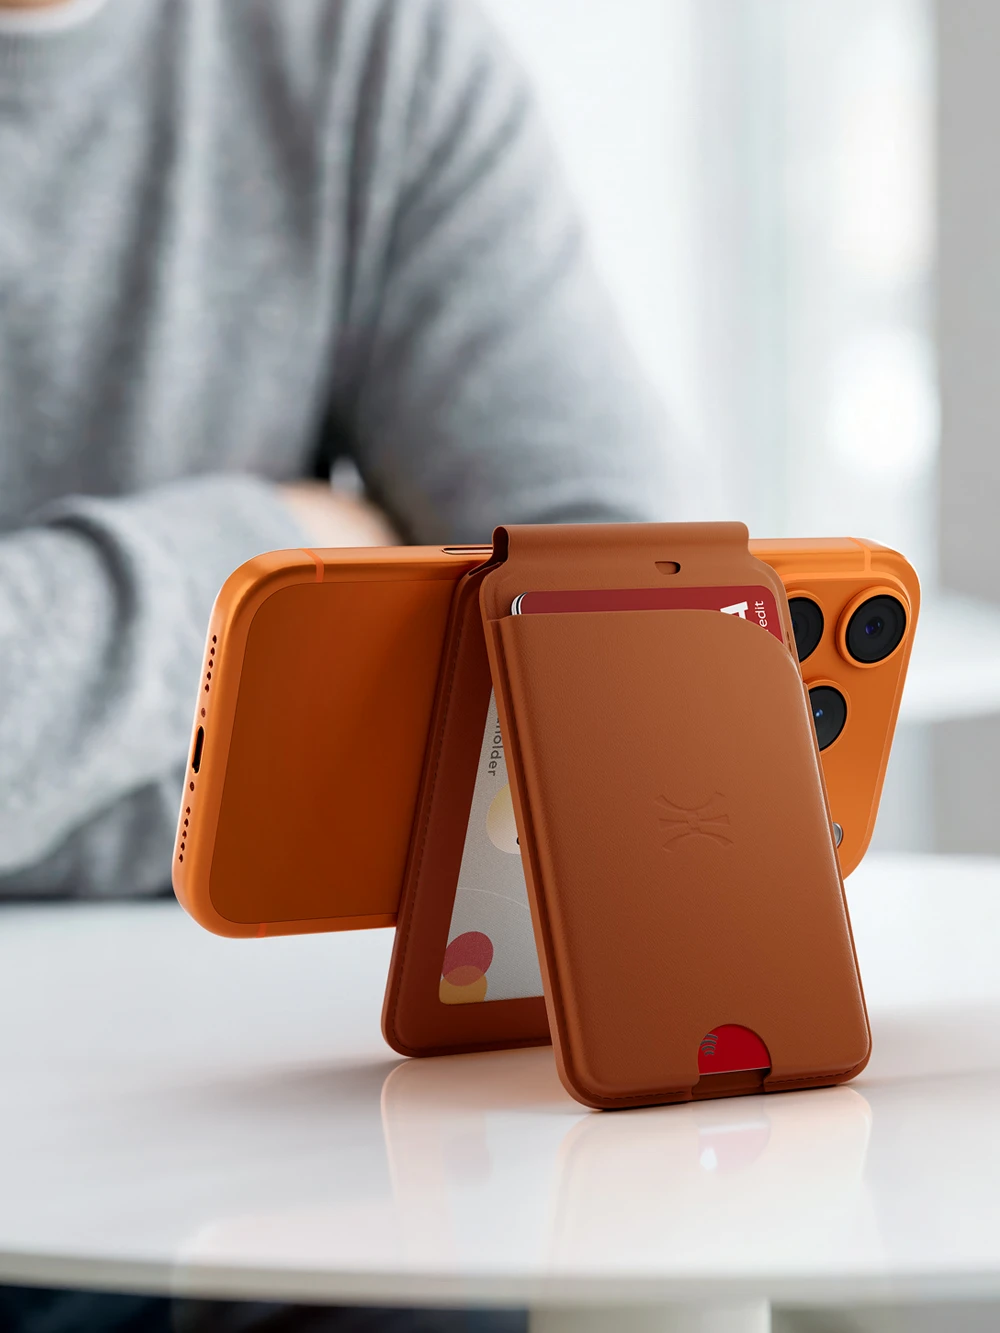
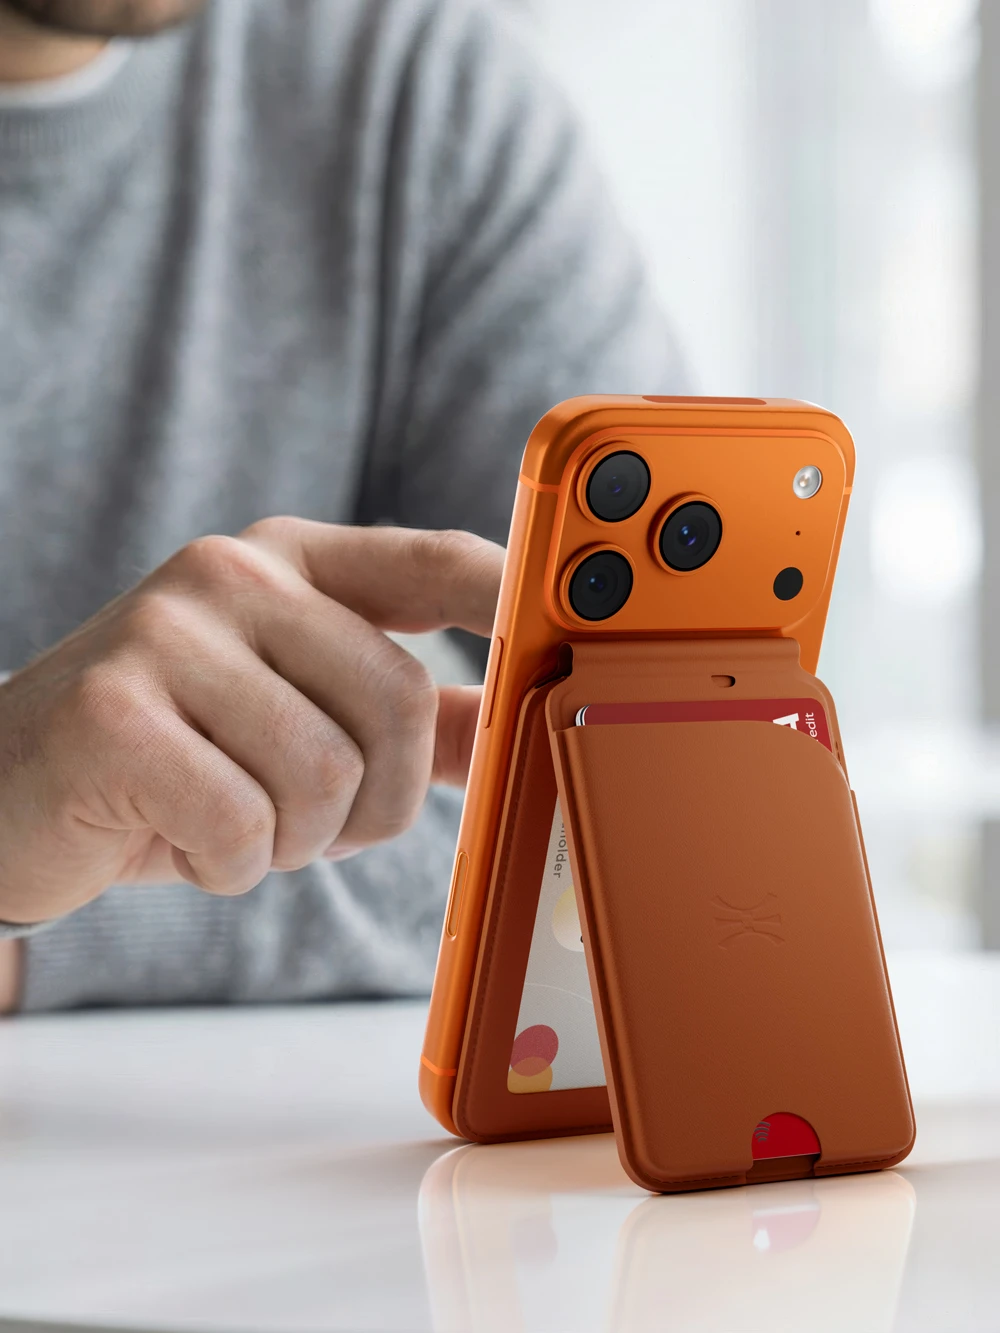
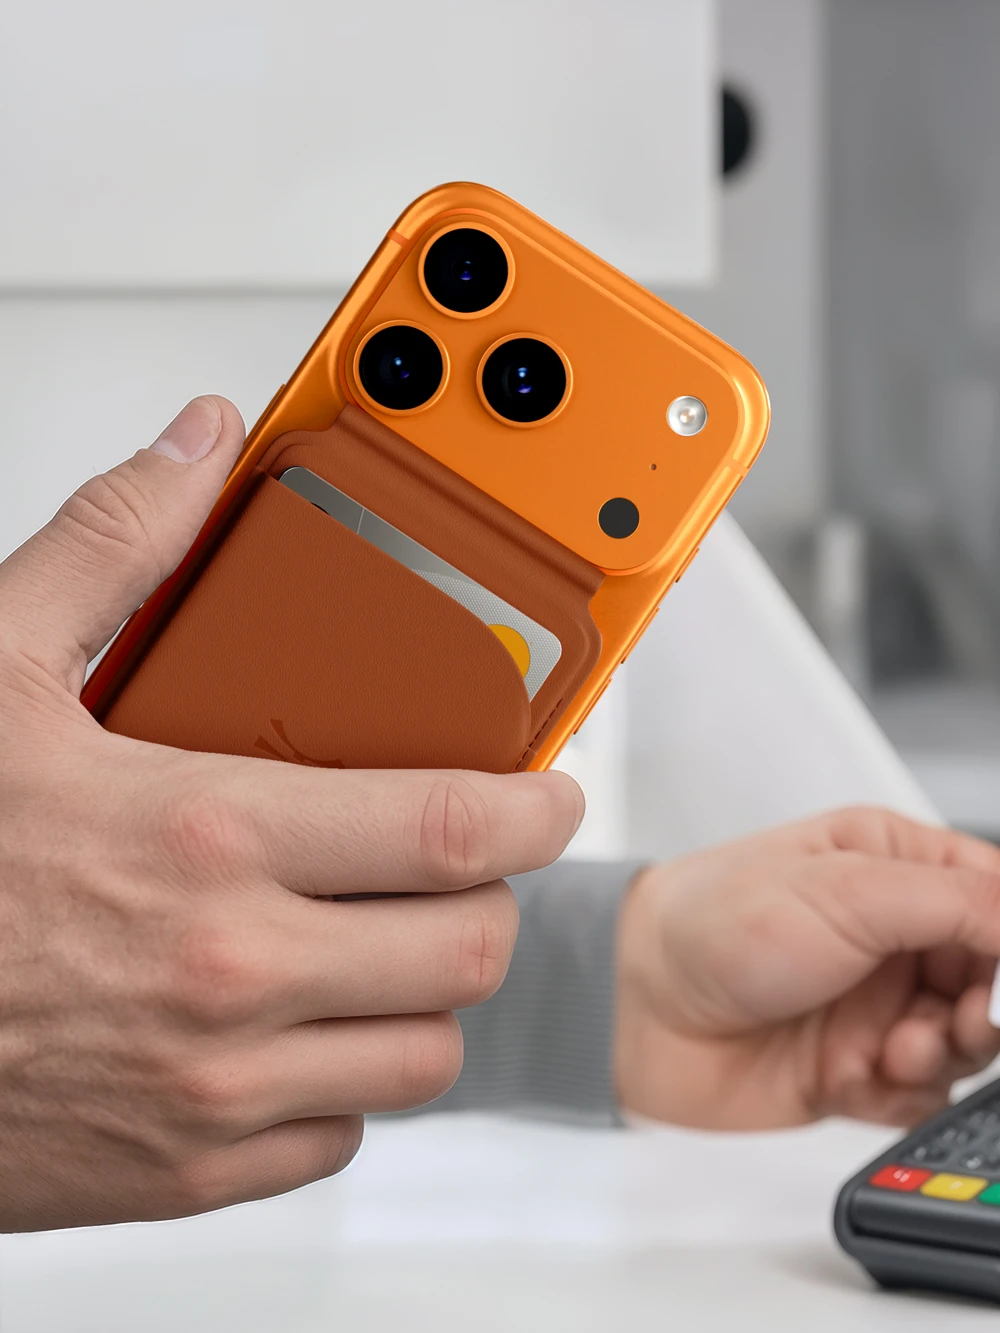
Launching the Unseen: How to Create Premium Content Before the Product Even Exists
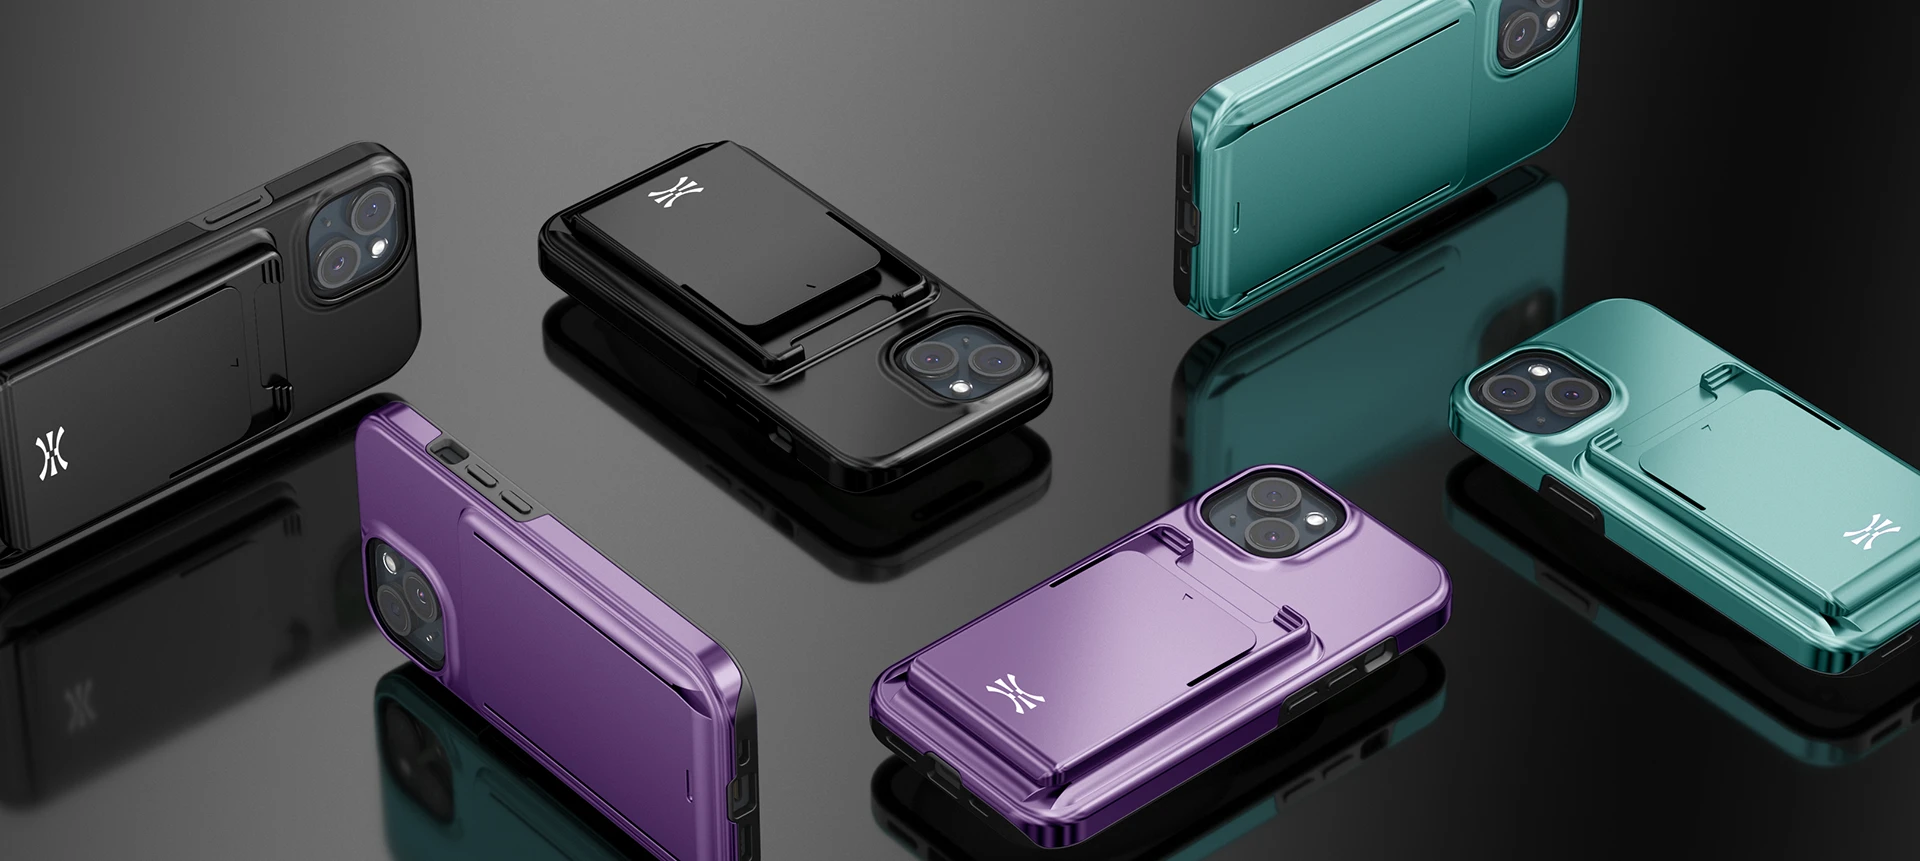
Limitations of Traditional Commercial Photography
– Zero Lead Time: Marketing couldn’t begin until physical product samples were shipped.
– The CMF Nightmare: Photographing 12 different colorways meant identical, expensive lighting resets for every single SKU.
– Inconsistencies: Microscopic shifts in camera alignment make traditional catalog photos look messy side-by-side.
Instead, 3D product rendering studio capable of taking proprietary design data and turning it into flawless, consumer-facing imagery before production finished.
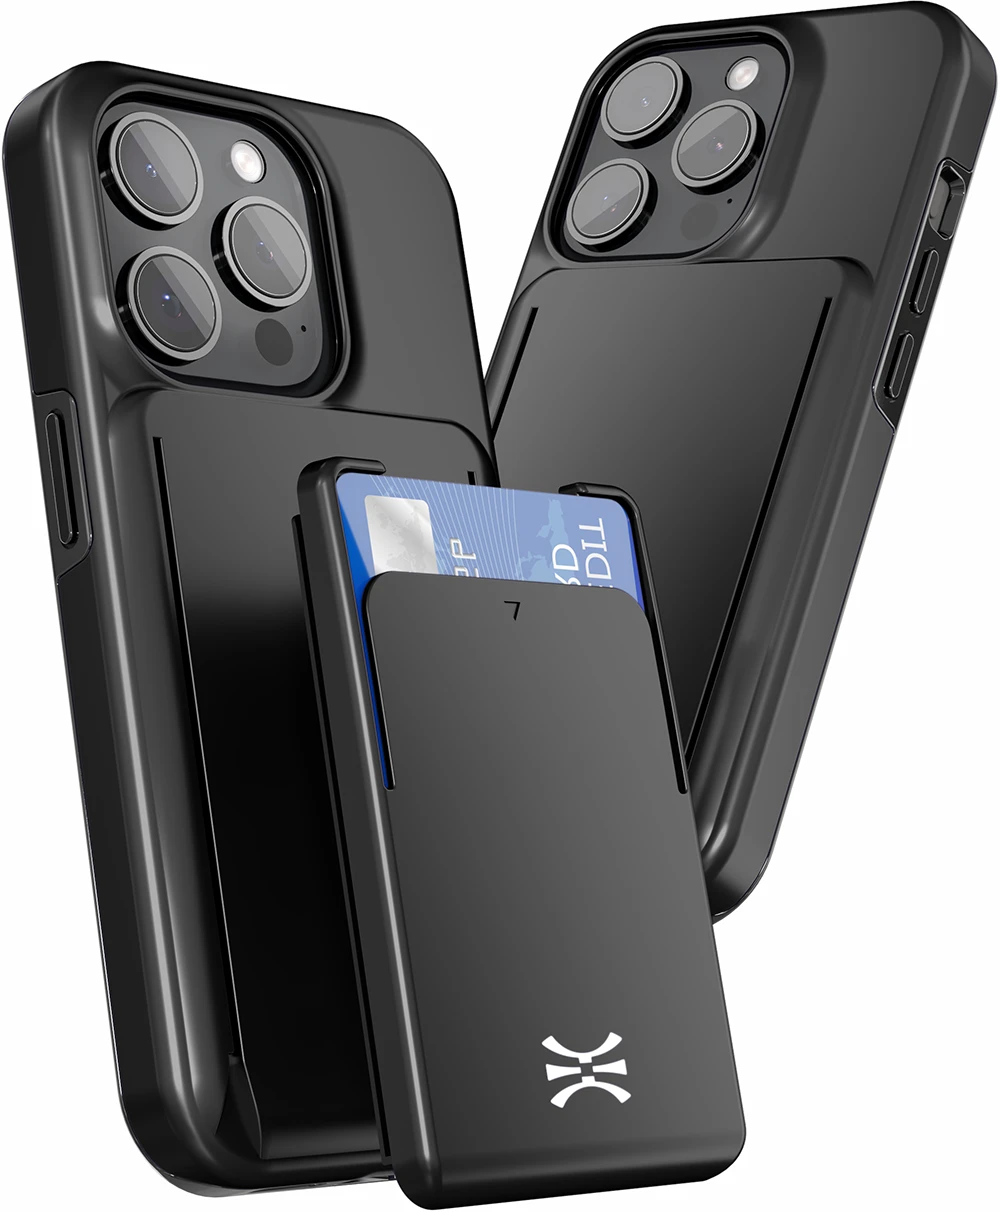
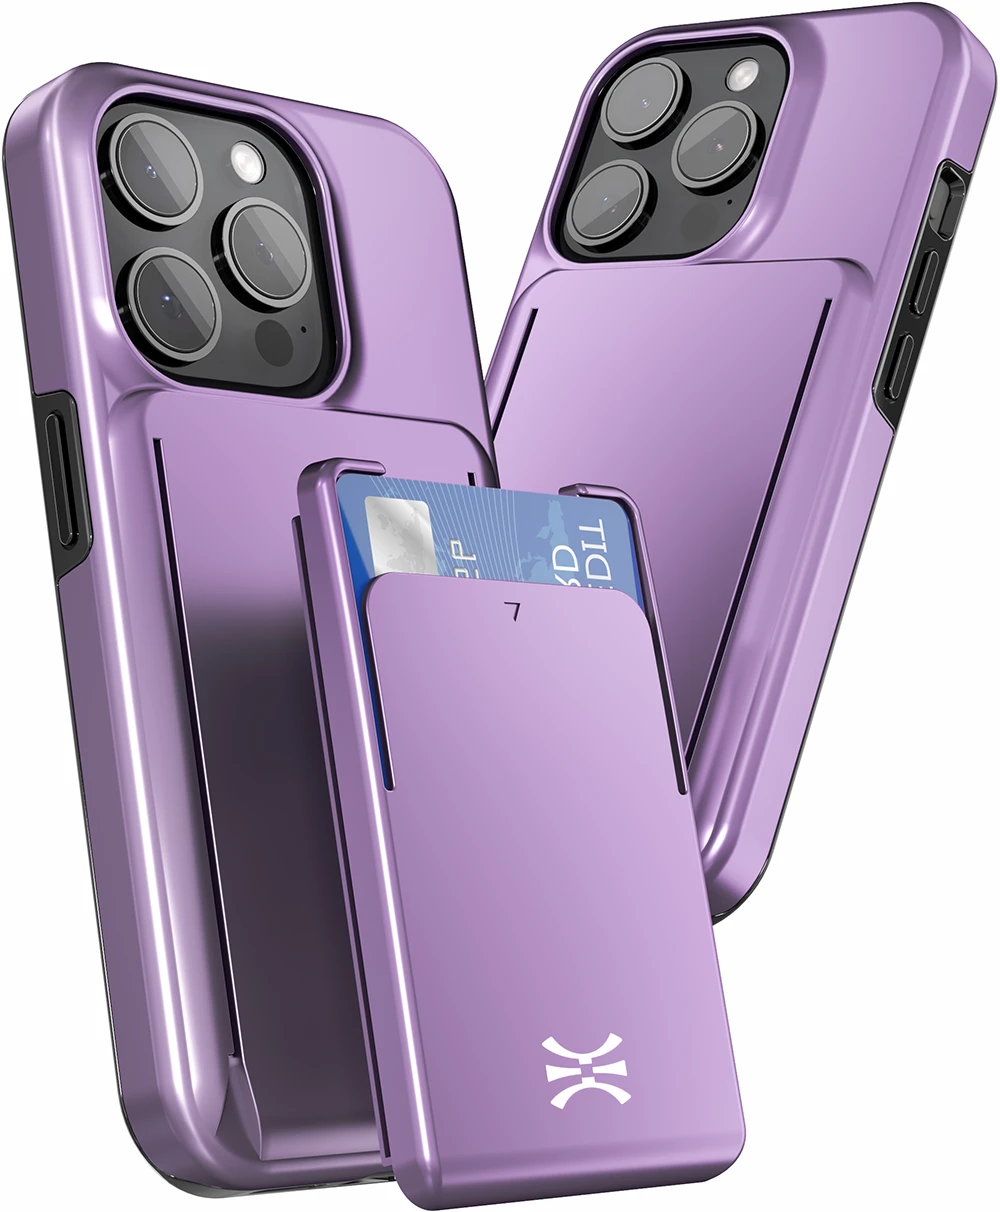
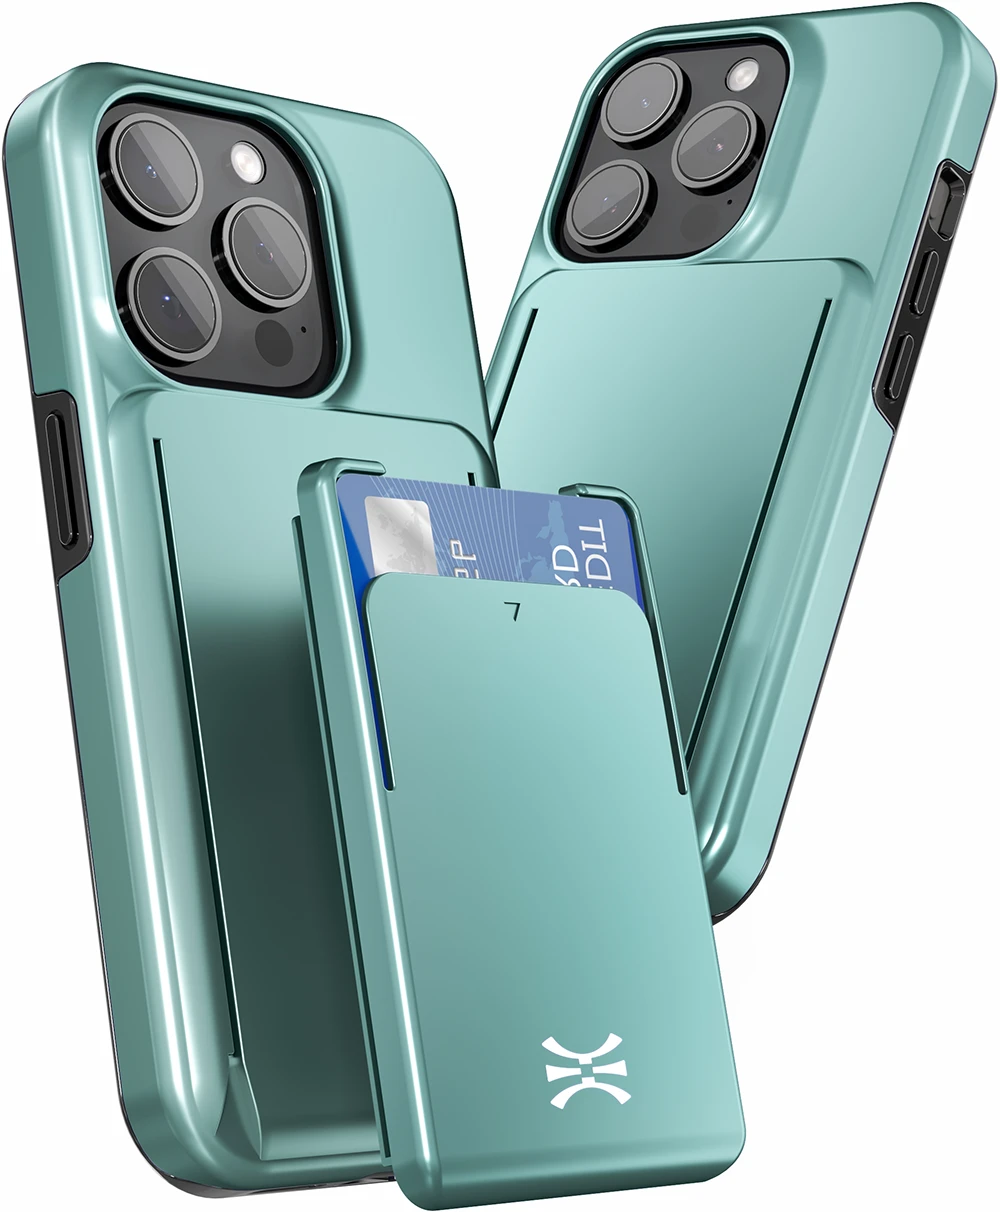
Phase 1: CAD Conversion and Polygon Optimization
We started by preparing the client’s industrial design files, specifically the 3D CAD/STP files sent by the factory. As is well known, such files have little geometric detail and are not optimized for rendering engines.
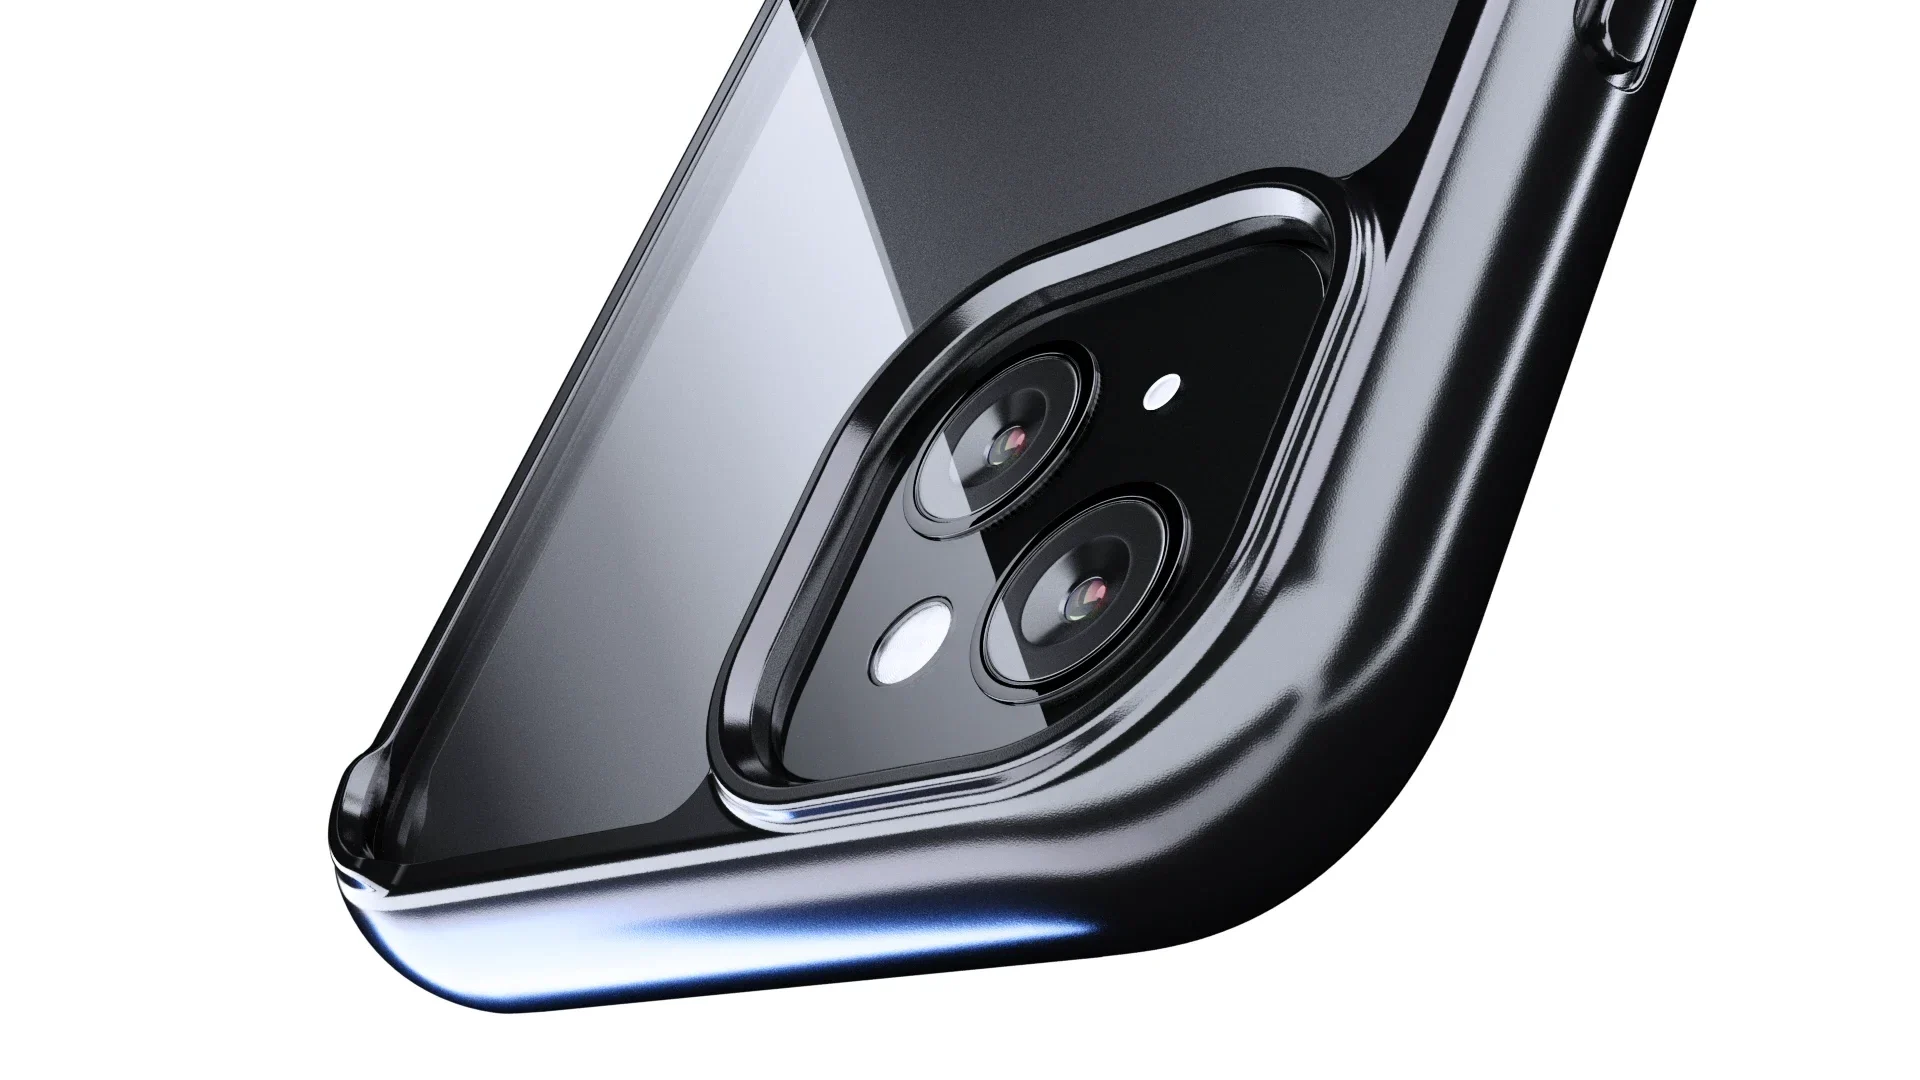
Our 3D designers performed precise retopology, converting the complex NURBS data into high-quality, optimized polygon meshes. This step ensures a perfect rendering visualization of smooth chamfers, precise micrometric tolerances, and screen bezels without jagged artifacts or geometric distortions.
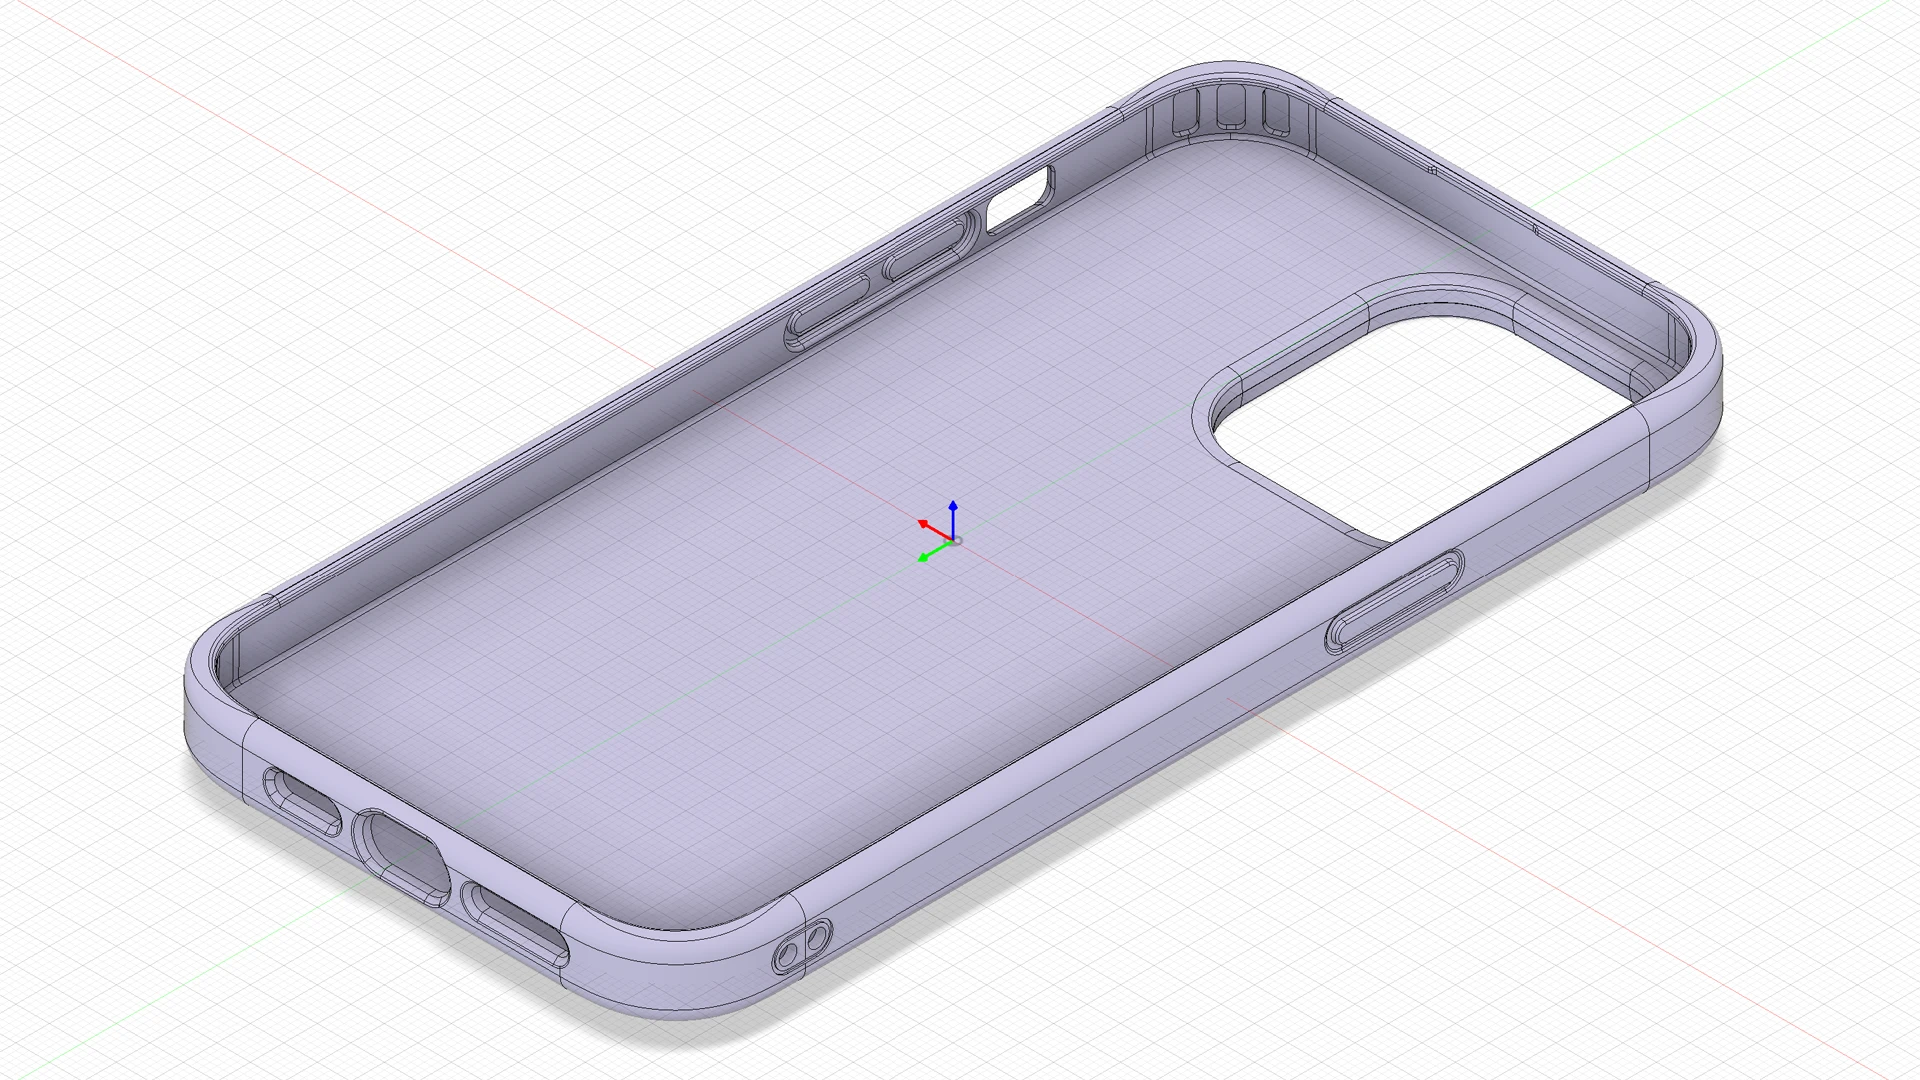
Phase 2: Material, Colors and Textures Mapping
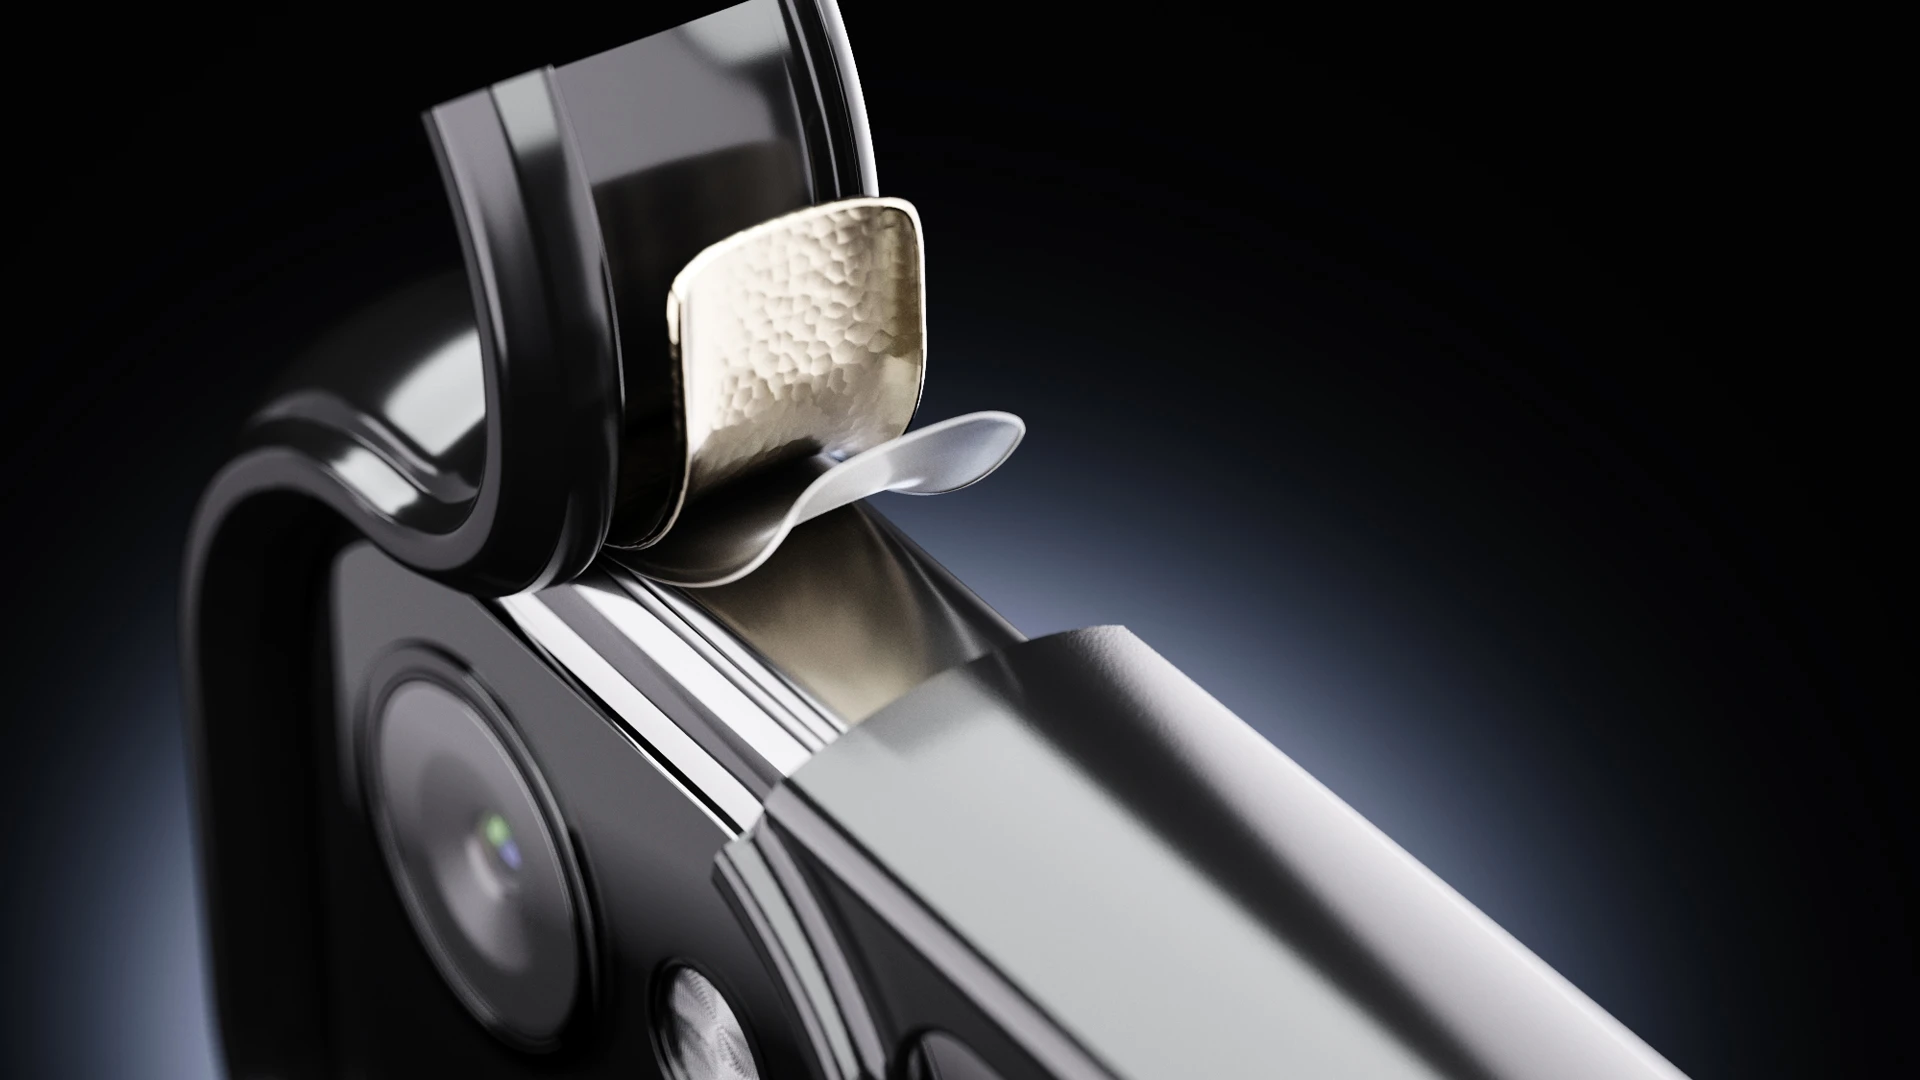
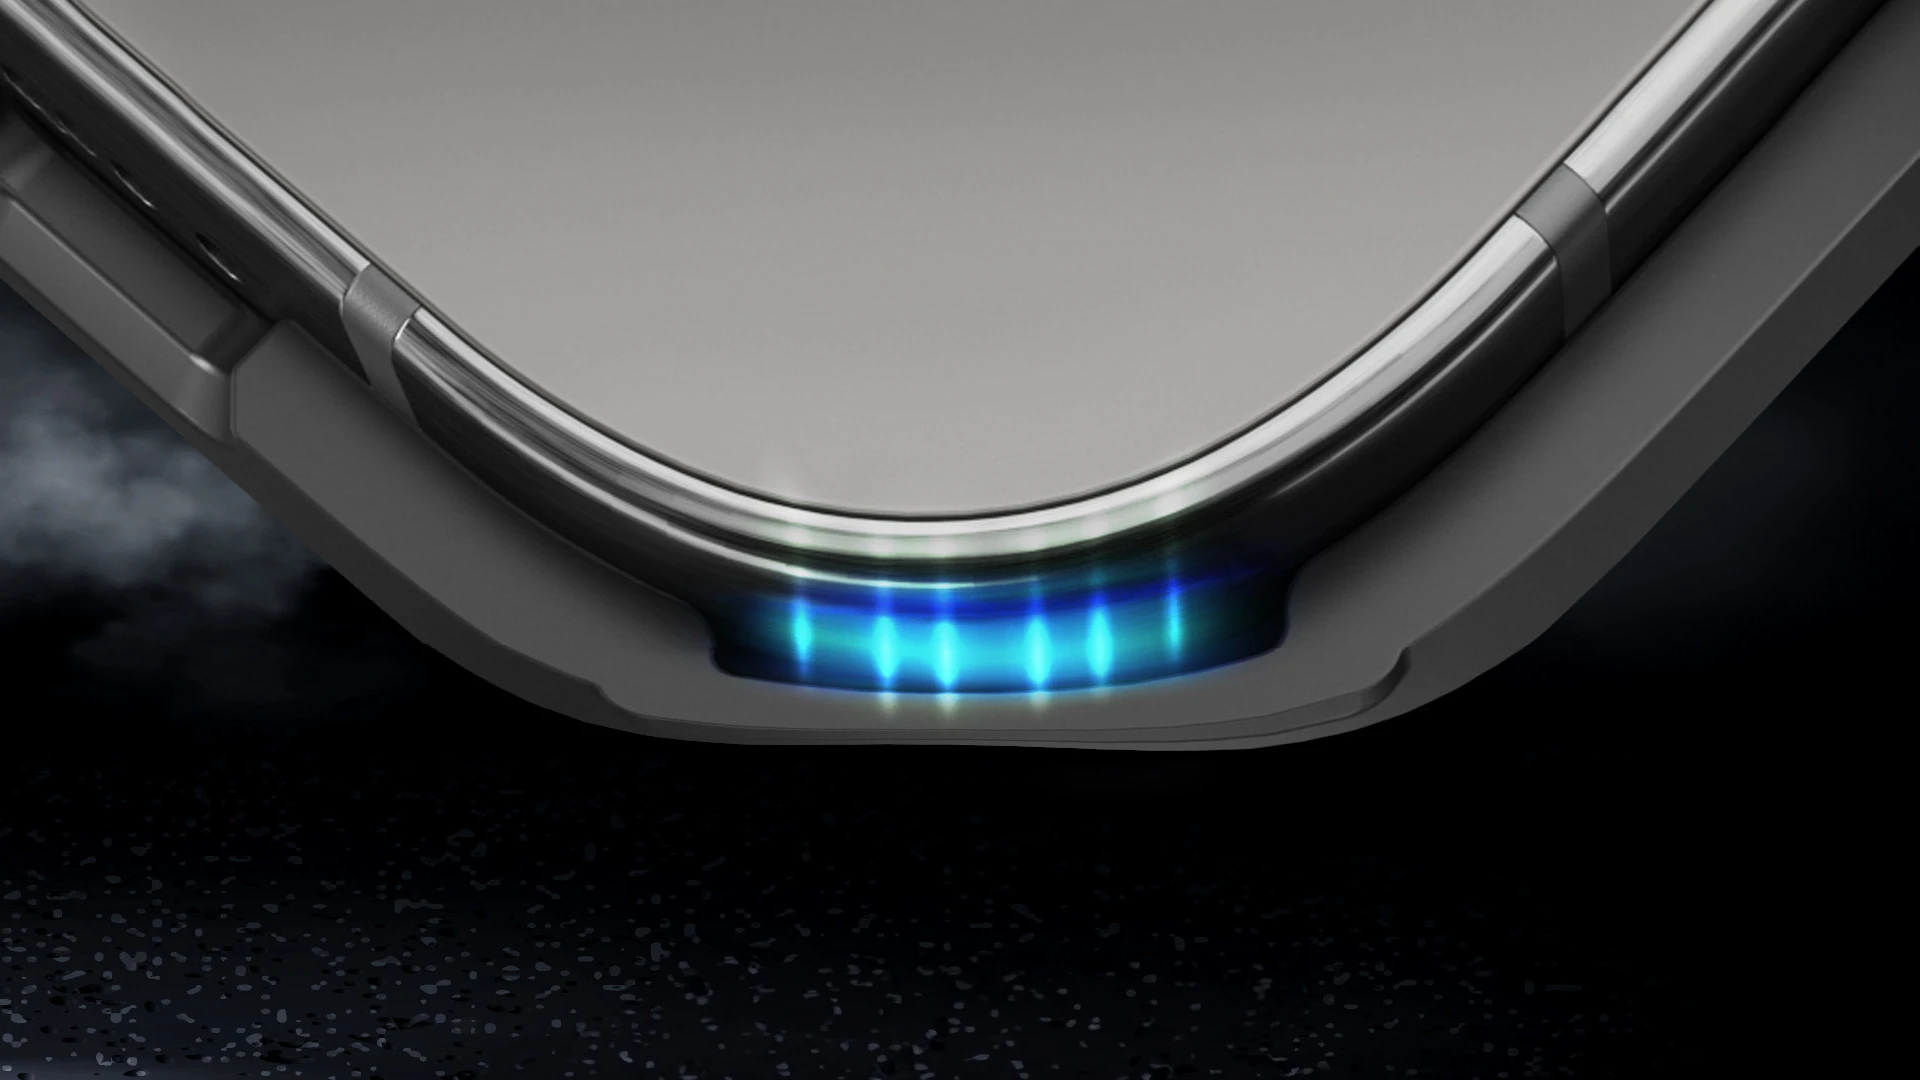
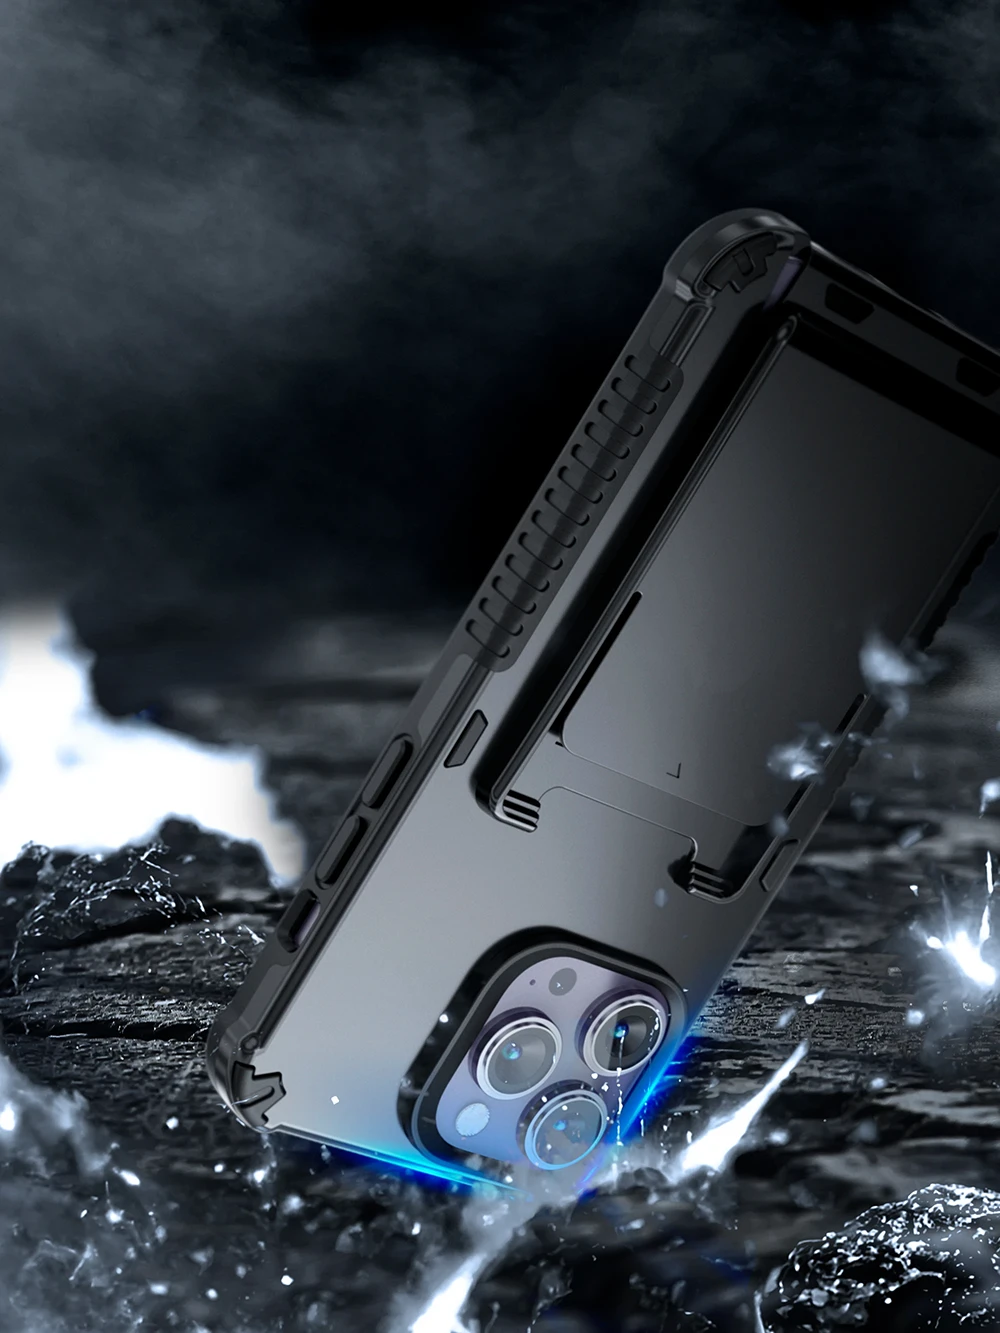
The iPhone case isn’t just a piece of plastic; it has different physical properties—we used a physical rendering workflow (PBR texturing) to render two different materials: a hard, matte polycarbonate shell and a flexible, shock-absorbing TPU inner bumper.
By using precise refractive indices and fine-tuning scattering, we accurately simulated how light passes through the dense silicone and scatters within the material, eliminating the plasticky, lifeless look common in amateur 3D design.
Phase 3: Virtual Studio Lighting and Ray-Tracing
Instead of using standard flat digital lighting, we created our own virtual photo studio with multiple light types and HDRI environments. Using advanced ray-tracing techniques, we simulated real-world softboxes, rim lights, bounce cards, and environment lighting.
This setup allowed us to perfectly capture the microtextures, matte grain, and branding on the body. We set up realistic lens settings, simulating a realistic focal length and shallow depth of field to get high-quality commercial 3D renderings.
Phase 4: Complex Views and Automation
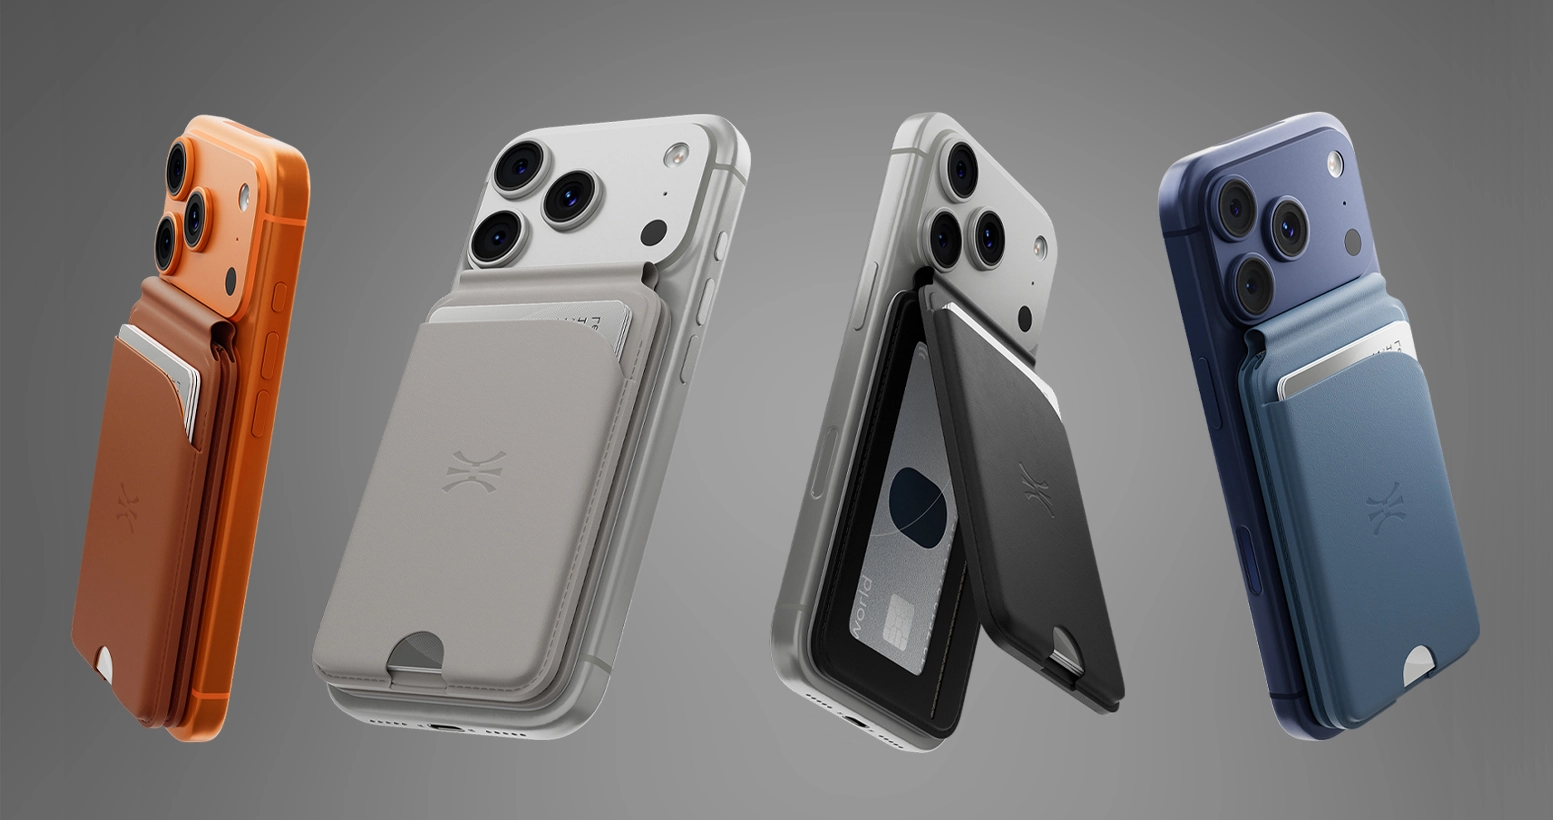
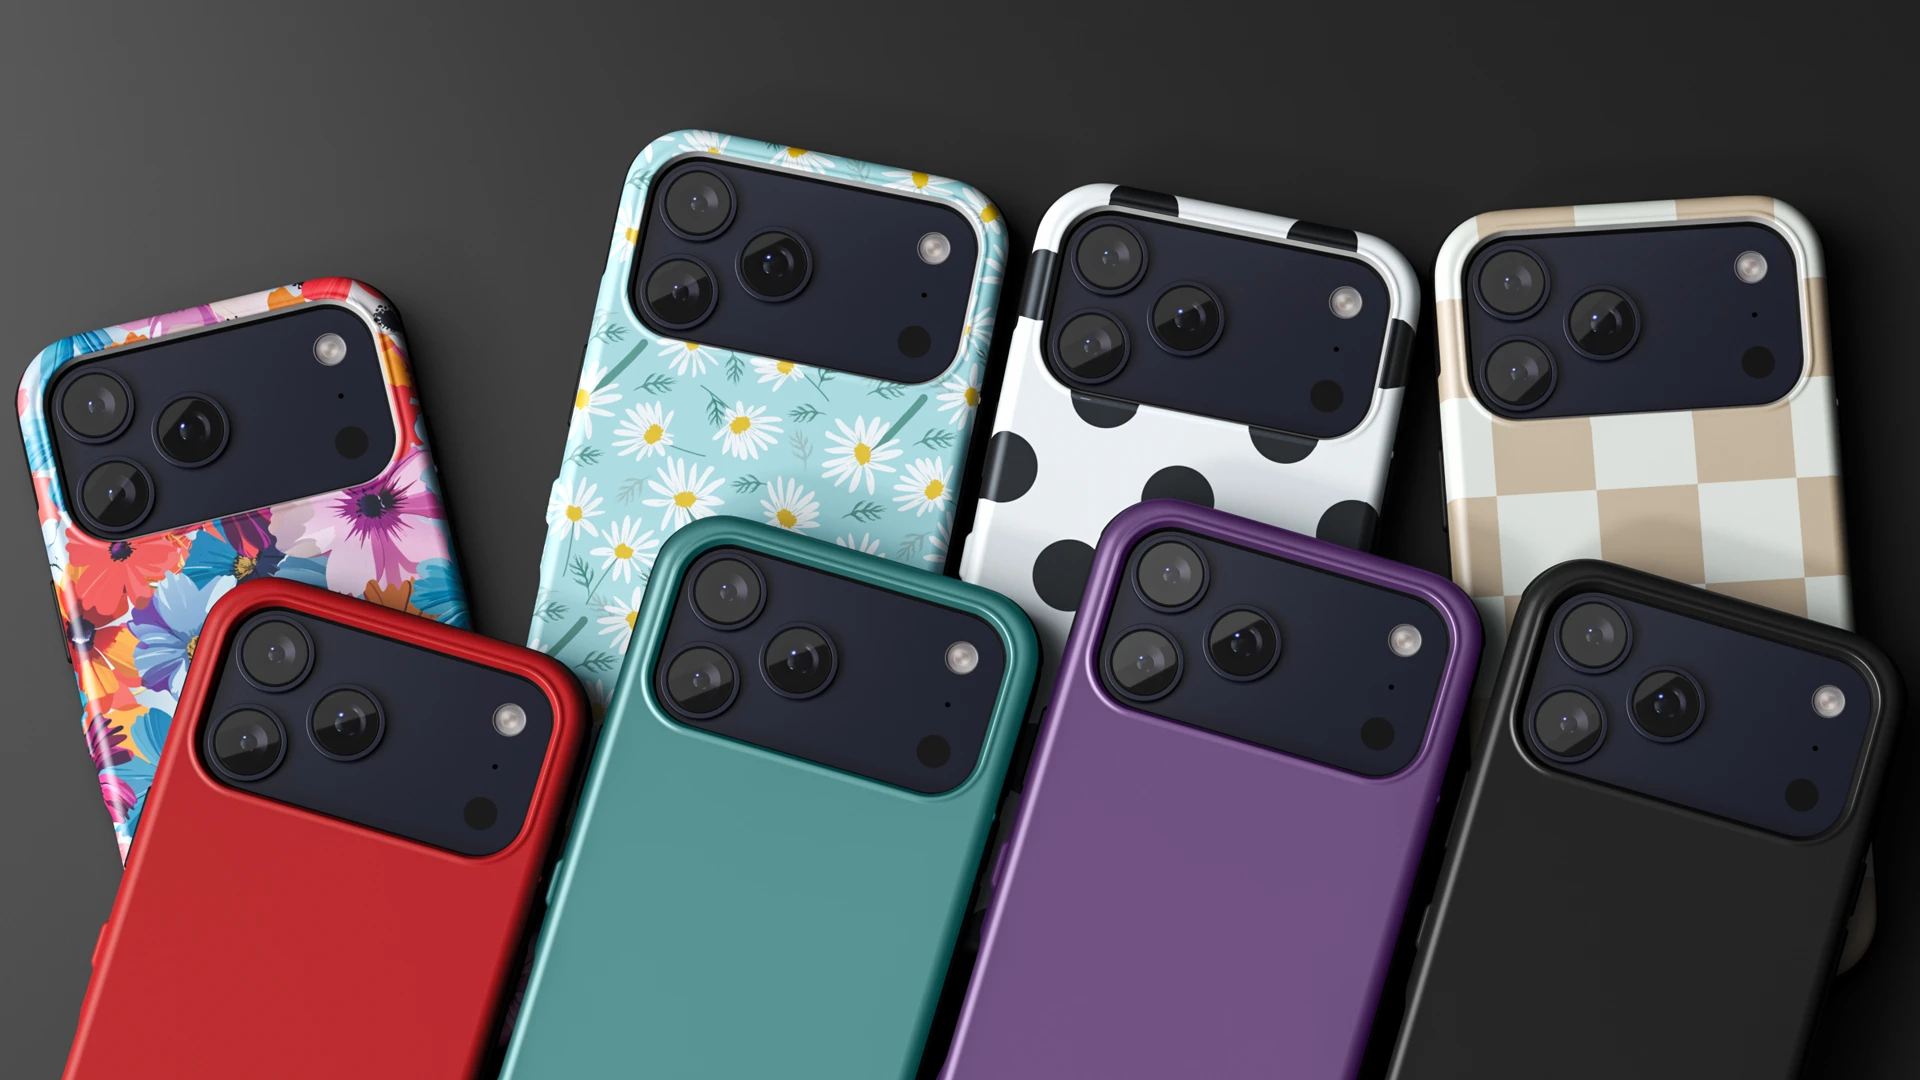
Once the master digital twin was approved, we scaled production. Since the assets were all digital, we automated material substitution to render all color variations with pixel-perfect consistency under the same camera angles and lighting.
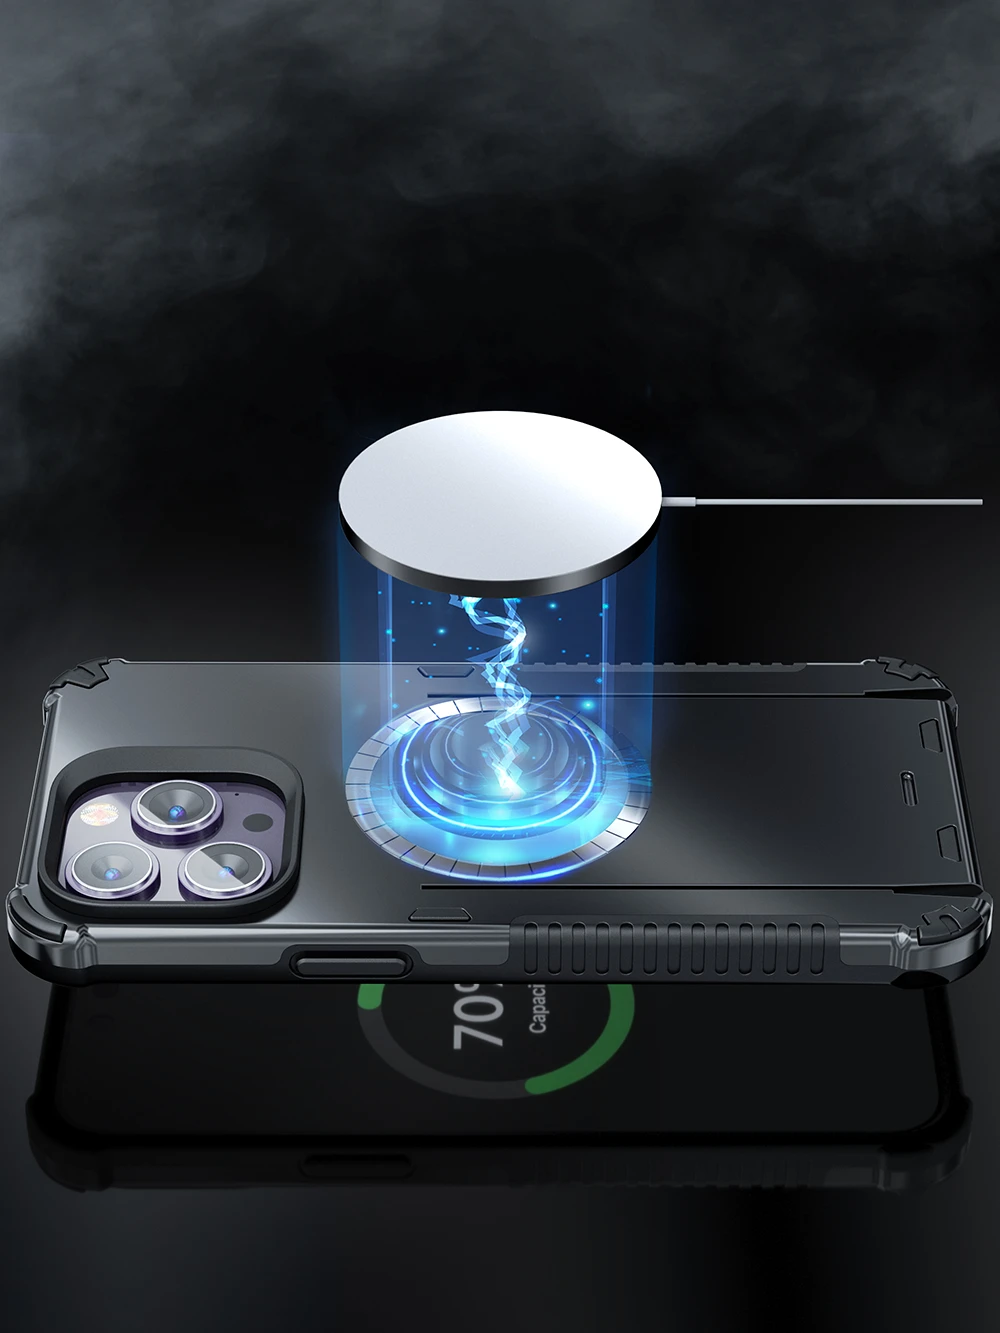
To highlight the internal shock absorption geometry and reveal the internal components, we took exploded or X-ray views. This allowed us to separate the outer shell, inner liner, and MagSafe magnet array into a floating, high-tech visual structure that clearly explained the product’s protective features.
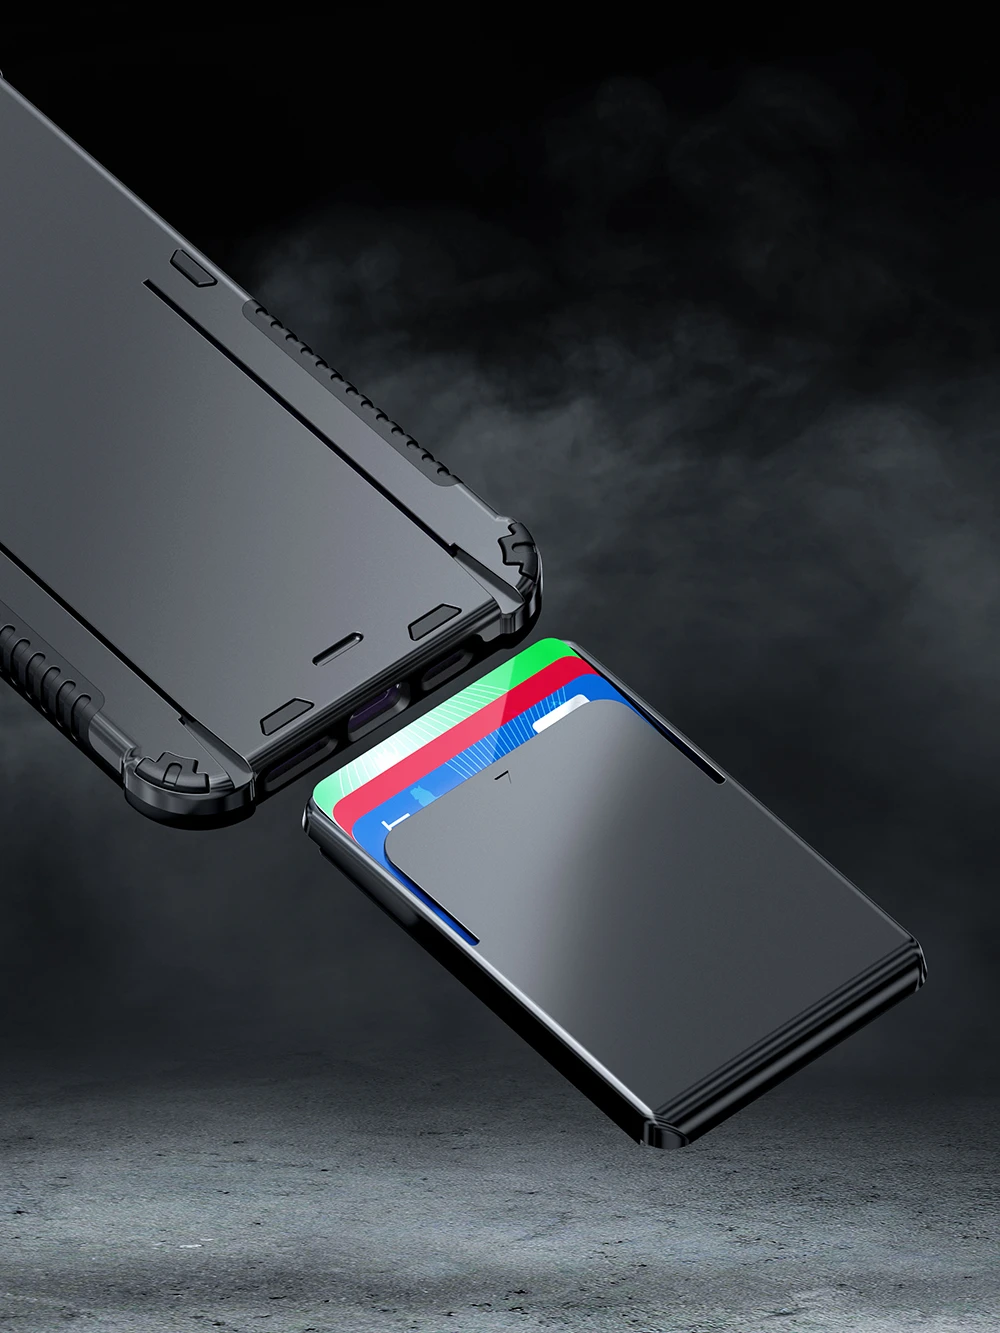
The Commercial Outcome: Real-World ROI
By treating 3D product visualization as a business strategy rather than just an artistic choice, achieved massive commercial advantages:
Launched pre-orders two months before the first cases arrived from the factory, funding production entirely on pre-sales.
Eliminating physical studios, shipping logistics, and post-production retouching saved thousands of dollars compared to traditional photography.
Every single product variation on their sites lines up perfectly, providing a clean, premium browsing experience that increased add-to-cart conversion rates by 18%.
FAQ
We ideally work with standard engineering files like STP, STEP, or IGS files. However, if your manufacturing blueprints aren’t finalized, our team can model a product from scratch.
We can work using 2D design blueprints, tech packs, or even physical dimensions and reference sketches to build an accurate model.
We use exact RGB codes or physical material swatches provided by your manufacturer.
Our lighting environments are calibrated to standard white balances to ensure the Color, Material, and Finish look exactly the same on a screen as they do in a customer’s hand.
Yes. Every digital twin we create is built to industry standards.
Once the static images are complete, the optimized 3D assets can be instantly deployed into 3D product animations, exploded view videos, interactive WebGL viewers, or Augmented Reality (AR) models for platforms like Amazon and Shopify.


